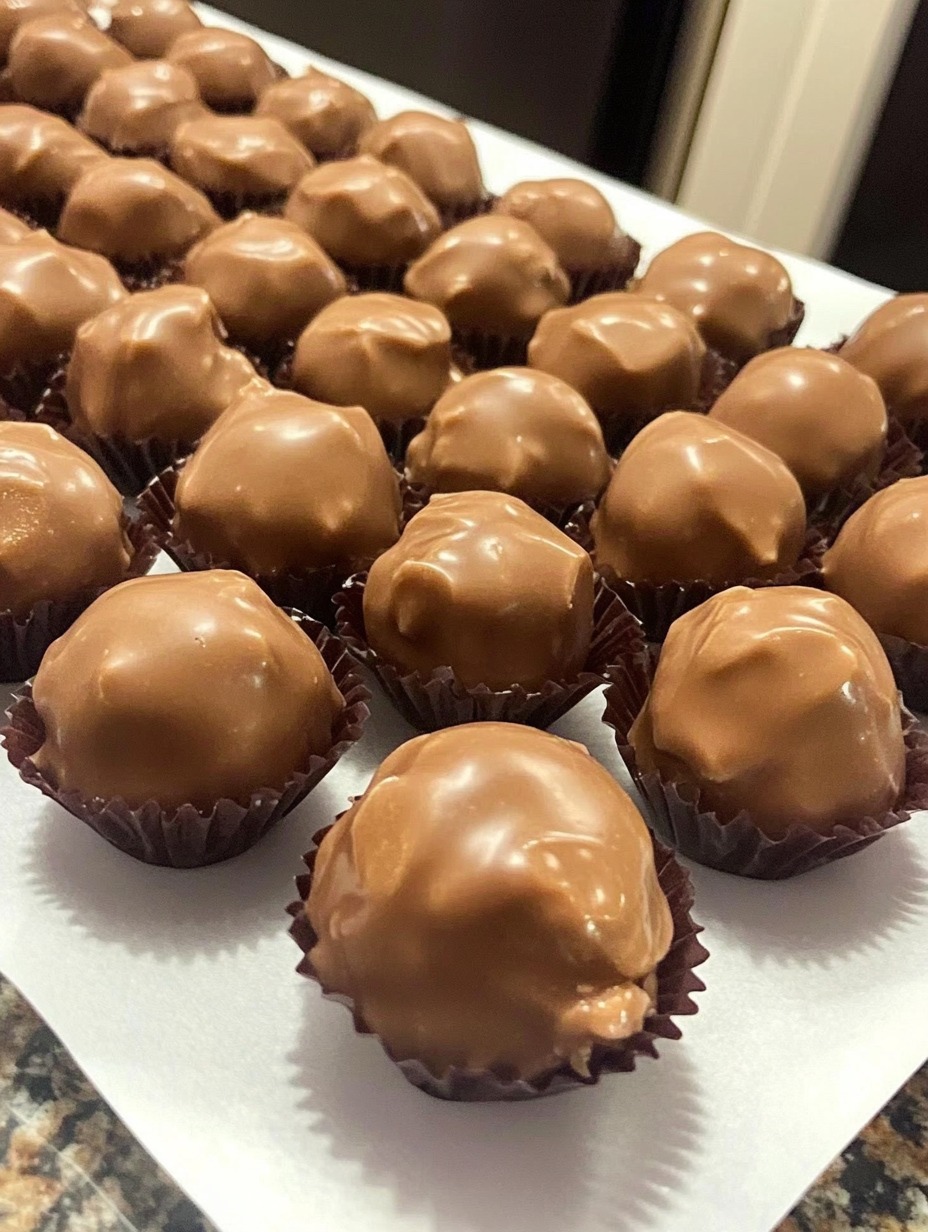
This easy no-bake Butterfinger chocolate ball recipe combines peanut butter, graham crackers, and
Butterfingers for the ultimate chocolatey, crunchy treat Only 10 ingredients and 30 minutes are required!
I’ll be showing you how to make delicious Butterfinger chocolate balls. This recipe takes classic
peanut butter balls and adds an extra crunchy, chocolatey Wist with crushed up Butterfingers. The end
result is a decadent, no-bake treat perfect for any occasion. Let’s get started!
Can I use smooth peanut butter instead of crunchy?
Yes, you can use smooth peanut butter. The bals wil have a more uniform texture wifiout the crunchy
peanut pieces.
What if I don’t nave graham crackers?
You can substitute the graham crackers for vanilla wafers, Oreo cookie crumbs, or digestive biscuits.
HOW long do tne balls keep for?
The balls can be stored in an airtight container in the fridge for up to 1 week Let them corne to room
temperature before serving.
Can I make them gluten-tree?
Yes! Use gluten-free graham crackers or substitute the crumbs for finety chopped nuts_ Check the
peanut butter label as well.
What types of chocolate work best for coating?
I recommend using semi-sweet chocolate or dark chocolate chips. Milk chocolate and white chocolate
are also delicious options_
Ingredients (Makes about 30 balls):
• 2 sleeves graham crackers, crushed (about 2 cups crumbs)
• 2 1/2 sicks butter, softened (1 cup or 225g)
• 16 oz (2 cups) powdered sugar
• 1 1/2 cups crunchy peanut butter
• 5 regular size Butterfinger bars, crushed (about 1 cup)
• 12 oz dark chocolate chips
• Sprinkles for decorating (optional)
Instructions:
1. Crush up the graham crackers until you have about 2 cups of fine crumbs. You can use a food
processor or put them in a Ziploc bag and crush vÄth a rolling pin.
2 In a large bowl, cream together the butter and powdered sugar until light and fluffy, about 2 minutes.
3 Add the peanut butter and mix unfil fully ncorporated.
4. Add the crushed Butterfingers and graham cracker crumbs. Mix until a dough forms.
5. Cover the bowl and refrigerate the dough for 30 minutes. This allows it to firm up for easier shaping
6. Once chilled, use a small cookie scoop or spoon to form the dough into balls. Place on a baking
sheet or plate. Make them any size you prefer
7_ In a ncrowave-safe bowl, melt the chocolate chips in 30 second intervals, stirring between each
one, until fully smooth.
& each ball into the melted chocolate, coating fuMy_ Tap off any excess.
9_ Place back on the baking sheet. Decorate with sprinkles novg f desired.
10. Allow chocolate to set conwetely before serving, about 10 minutes.
11. Store leftovers in an airtight container in the refrigerator up to 1 week Enjoy!
Tips:
Let dough chill for at least 30 minutes before rolling into balls so it firms up_ This makes shaping
much easier.
• VVhen melting the chocolate, do it slowly and stir often for best results. let it get too hot.
Work quickty v.’hen coating the balls so the chocolate doesn’t harden before you finish.
• Drizzle or pipe extra chocolate over the finished balls for a pretty presentation.
• Store the chocolate balls layered betueen pieces of parchment or wax paper so they dont stick
Play around with different coatings like crushed candy canes, sprinkles, coconut, nuts or drizzled
Gift a batch in a festive tin or box for a delicious hornemade holiday teat!
These rich, chocolatey Butterfinger balls are the perfect sweet treat! Let me know if you give this recipe
a fry. I hope you love them as much as we do.